Wood Care
Oiling vs. Waxing: Finishing Your Wooden Décor the Right Way
Sooner or later, every wooden piece needs feeding. The grain dries, the surface loses its glow, and you reach for a tin or a bottle — only to find two options staring back: oil and wax. They look similar on the shelf, but they do genuinely different things. Use the wrong one and you can end up with a piece that is dull, blotchy, or unpleasantly tacky.
Here is the plain-language version of how each works, when to use which, and exactly how to apply them.
What oil actually does
Oil penetrates. It soaks down into the fibres of the wood, replacing the natural oils that slowly evaporate over time. Because it sits inside the wood rather than on top of it, an oil finish:
- enhances and deepens the grain, giving that rich, "wet" look
- feels natural to the touch — you are touching wood, not a coating
- is easy to repair: just re-oil, no stripping or sanding required
- suits items that get handled and used, including kitchenware
The trade-off is that oil offers less of a physical barrier. It protects from drying out, but it does not shrug off water and scratches the way a hard surface coat would. The answer is simple: re-oil more often.
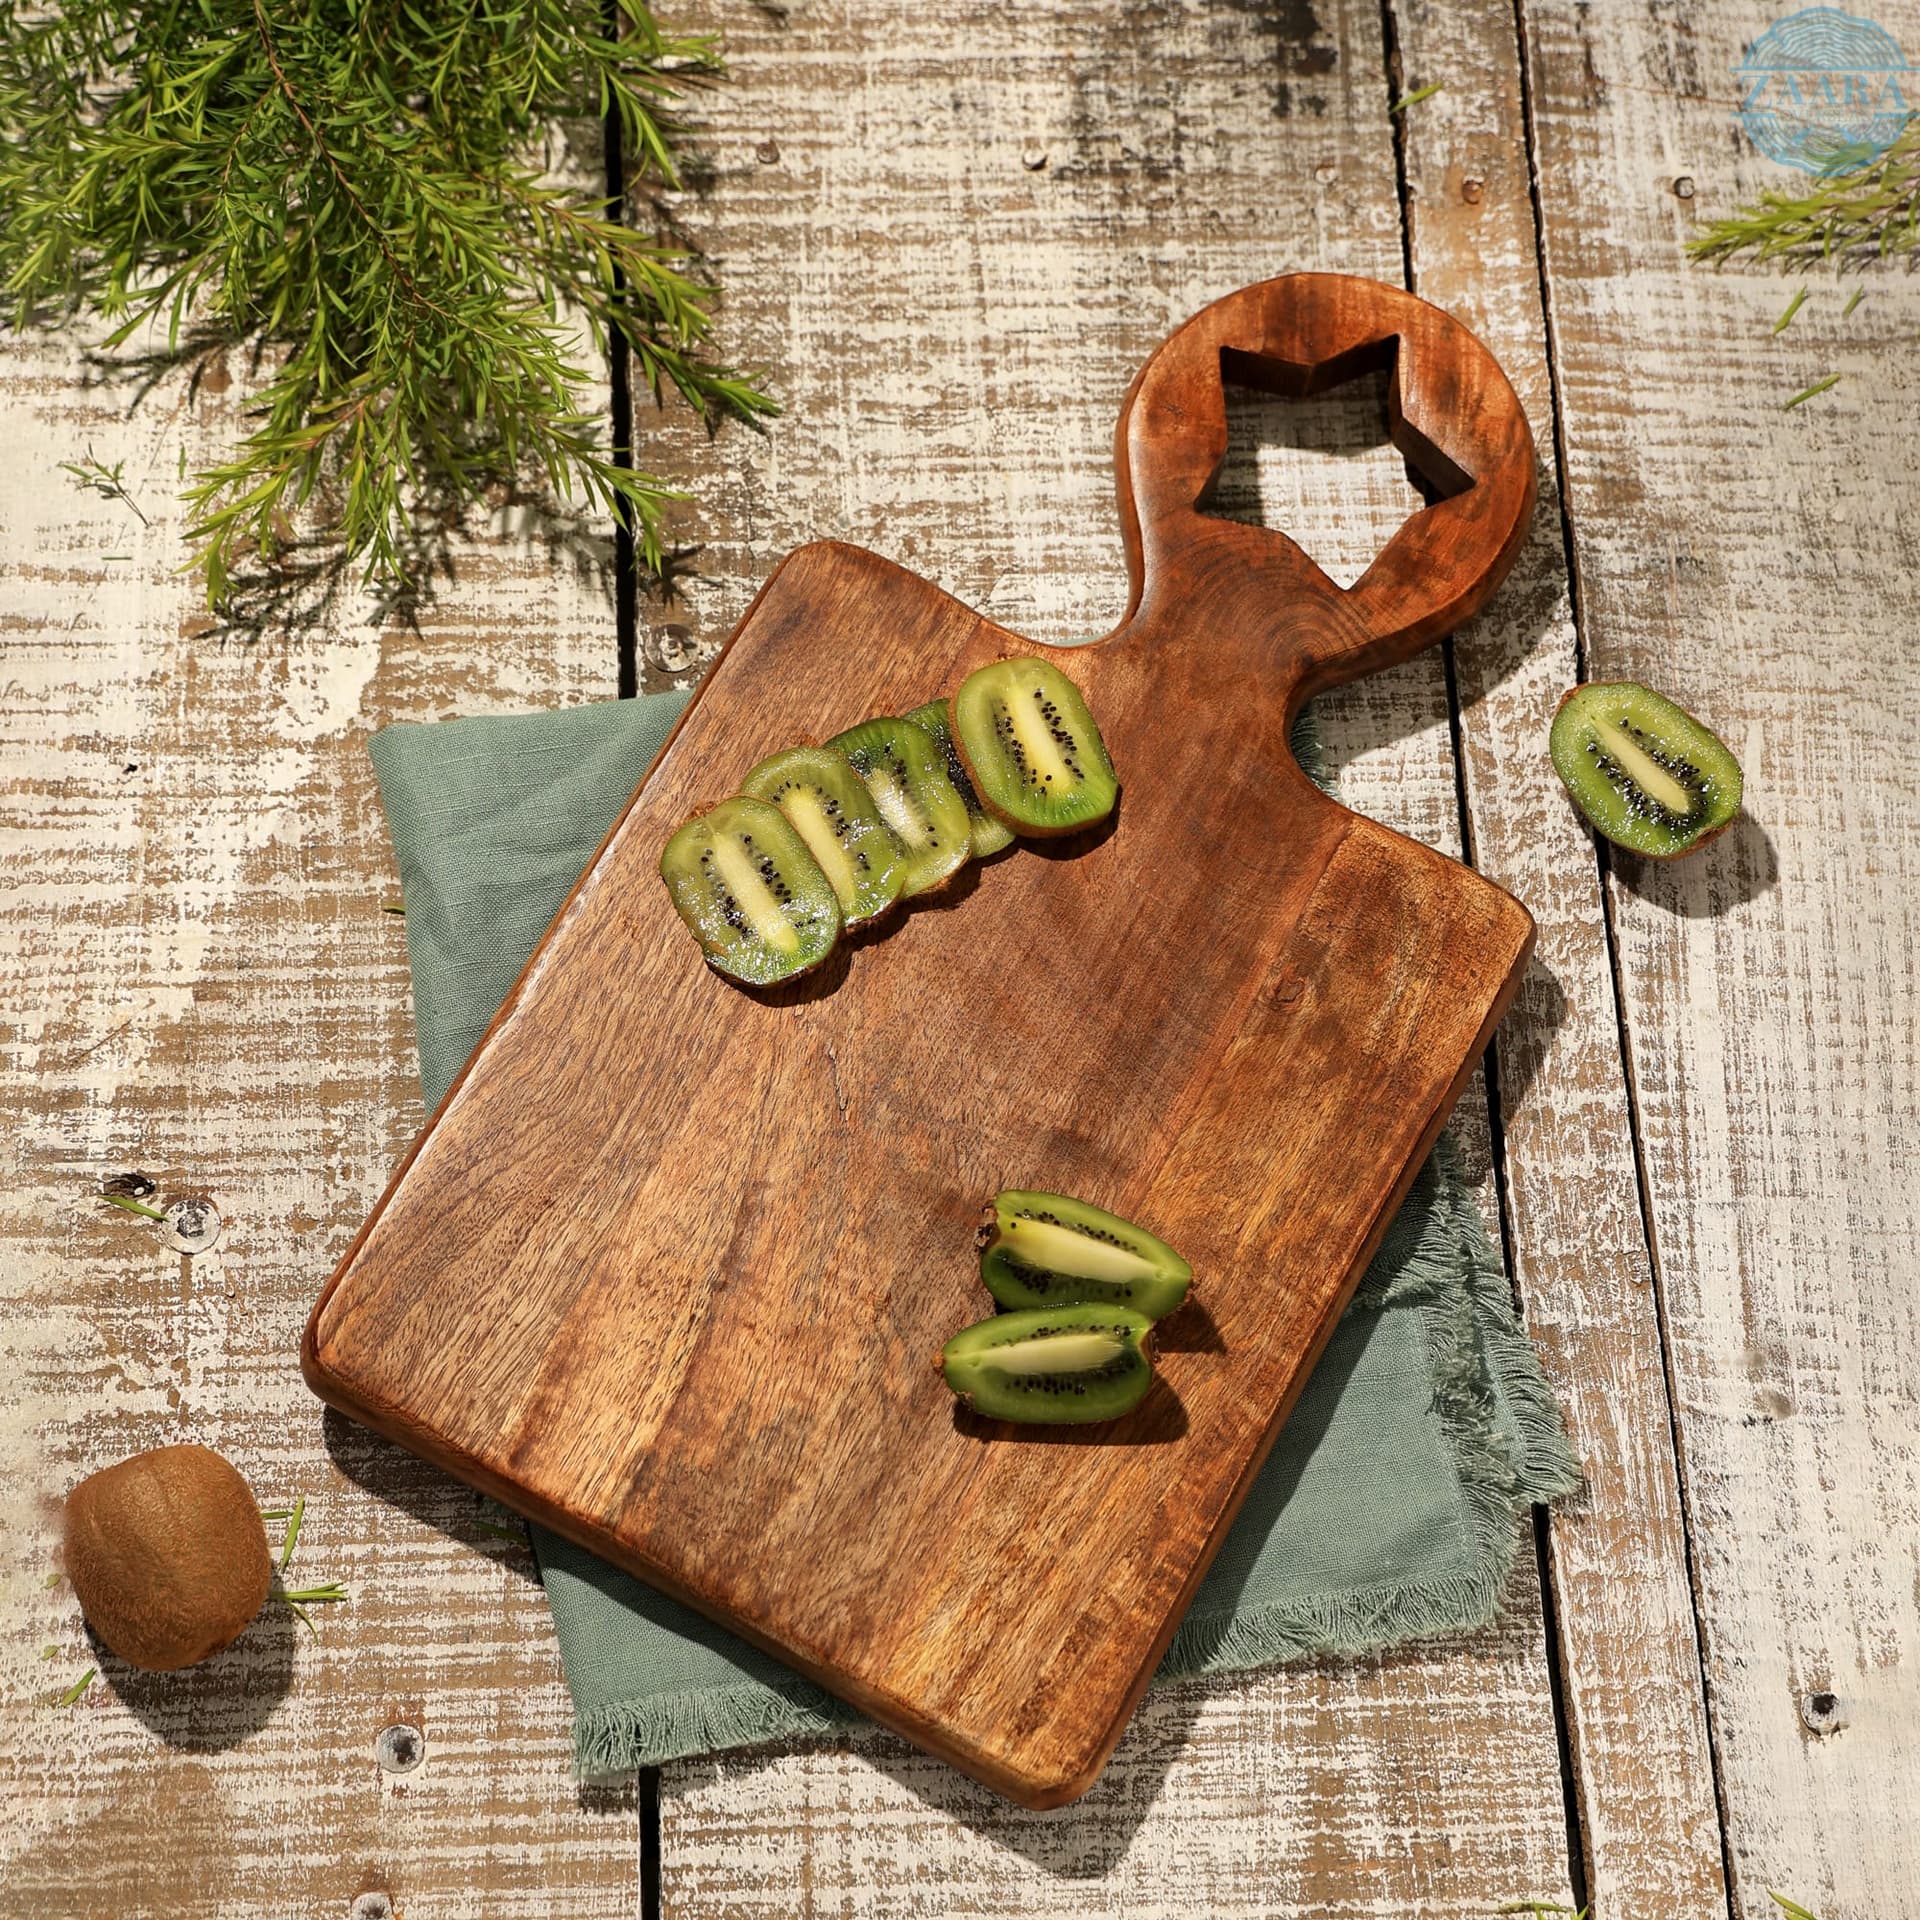
For anything food-related
Use food-grade mineral oil (or a food-safe beeswax-and-oil blend) on bowls, boards, and trays. Never use a standard furniture oil on a surface that touches food.
What wax actually does
Wax sits on top. It forms a thin protective layer over the surface — usually over an oil finish, not instead of one. A wax finish:
- adds a soft, low sheen and a pleasant tactile smoothness
- gives a little extra resistance to moisture and fingerprints
- is the classic finishing touch for purely decorative pieces
The trade-off is that wax is a surface layer, so it wears and needs reapplying, and it can smear or feel sticky if applied too thickly or buffed too little. Wax also does nothing to feed the wood underneath — which is why the best results come from oiling first, then waxing.
Think of it like skincare for wood: oil is the moisturiser that goes deep, wax is the protective balm that seals it in. Most pieces are happiest with both, in that order.
So which should you use?
| If your piece is… | Reach for… |
|---|---|
| A bowl, board, or tray that touches food | Food-grade oil |
| A decorative vase or sculpture | Oil, optionally finished with wax |
| Looking dry, pale, or thirsty | Oil — it needs feeding, not coating |
| Already healthy, just want sheen + protection | A thin coat of wax over the existing finish |
For most homes, an oil-first routine is all you ever need. Add wax only when you want a little extra sheen or surface protection on a display piece.
How to oil — step by step
- Clean and dry. Wipe the piece down and let it dry fully. Oil cannot penetrate a damp or dusty surface.
- Apply thinly along the grain. Use a lint-free cloth. Less is more — a thin, even coat beats a thick, gummy one.
- Let it soak. Give it 15–20 minutes for the oil to absorb.
- Buff off the excess. Wipe with a clean dry cloth until nothing transfers to your hand. There should be no sticky film.
- Repeat if thirsty. Very dry wood may drink a second coat. Stop when the surface stays evenly satiny.
Do this two to four times a year and your piece will never look starved.
How to wax — step by step
- Oil first (if the wood needs feeding) and let it cure for a few hours.
- Apply a thin layer of wax with a soft cloth, using small circular motions.
- Let it haze. Wait 10–15 minutes until the surface looks dull and cloudy — that means the solvent has flashed off.
- Buff to a sheen. Work a clean cloth briskly along the grain until the haze lifts and a soft glow appears. Buffing is what prevents stickiness.
A few things to avoid
- Linseed or generic cooking oils on kitchenware — they can go rancid. Stick to food-grade mineral oil or a proper food-safe blend.
- Thick coats — they do not absorb, they just sit and stay tacky.
- Skipping the buff — both finishes need that final wipe-down to feel right.
- Spray polishes — the silicone buildup makes future oiling difficult.
The bottom line
Oil feeds the wood; wax protects and polishes it. Pick oil when in doubt, keep food pieces strictly food-safe, and finish display pieces with a little wax if you want extra glow. A few minutes a few times a year is the whole secret to wood that keeps looking better as it ages. For the full routine, see our complete mango wood care guide.
Need the right pieces to practise on? Browse the collection — every item ships finished, so all you have to do is keep up the routine.
Written by
Aarav Mehta
Studio Lead, Designer Library
Aarav works alongside our master carvers in Saharanpur and writes about keeping handcrafted wood beautiful for the long run.
Keep Reading
All articles →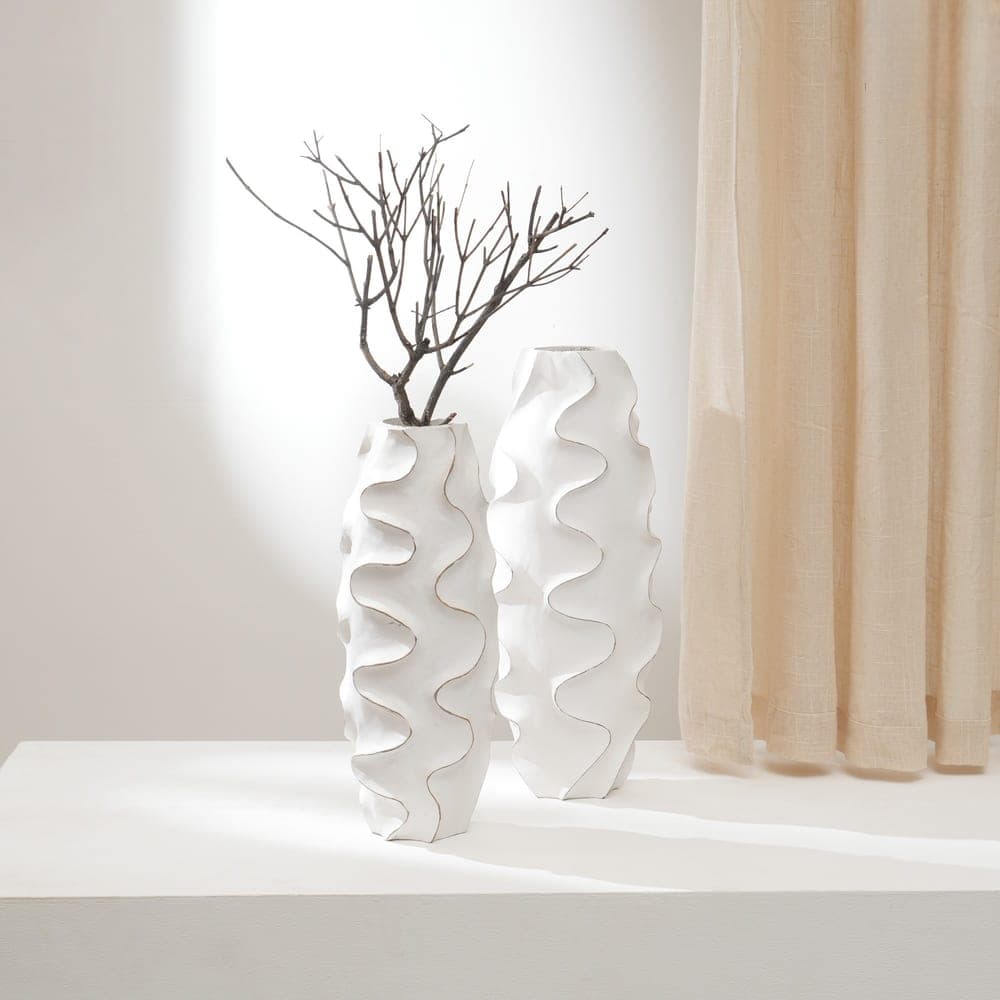
5 min read · 5 Jun 2026
How to Care for Your Mango Wood Furniture
Mango wood is dense, warm, and built to last generations — if you treat it right. Here is the simple care routine our Saharanpur artisans swear by.
Read article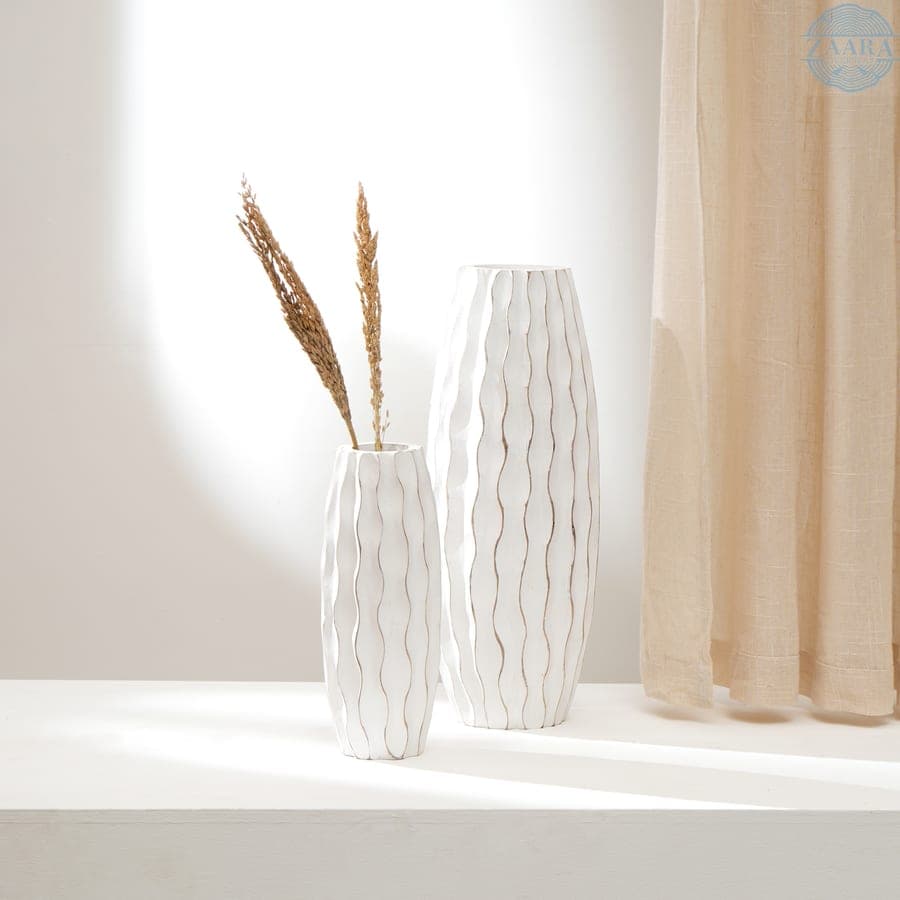
4 min read · 22 May 2026
5 Ways to Style a Wooden Vase in Any Room
A single handcrafted vase can anchor a whole room — or disappear into the clutter. Here are five ways to make yours the piece everyone notices.
Read article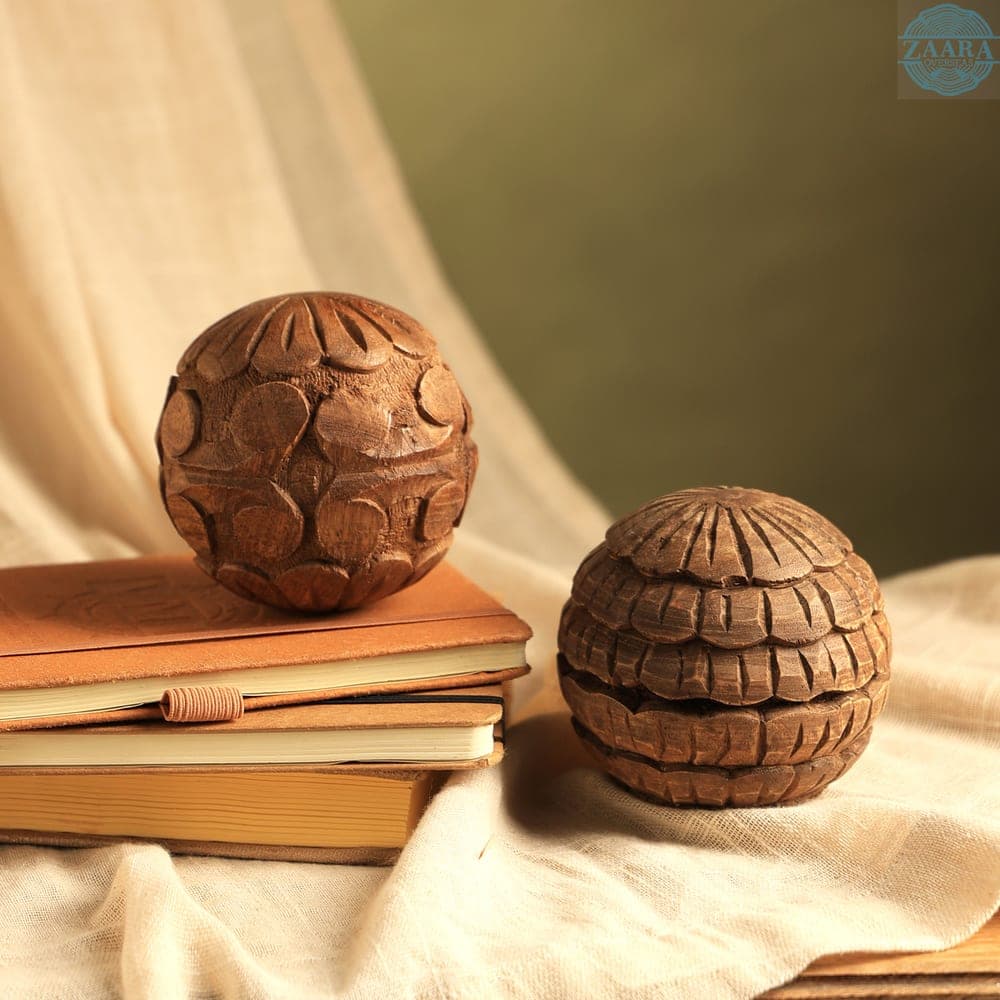
4 min read · 8 May 2026
Meet the Hands Behind Saharanpur's Wood Craft
For over four centuries, the carvers of Saharanpur have turned mango and sheesham into art. We spent a week in the workshops that make our pieces.
Read articleThe Craft Journal
Enjoyed this story?
Get wood-care guides, styling ideas, and artisan stories in your inbox — plus 10% off your first order.
No spam. Unsubscribe anytime. Privacy Policy